
Gardening Update - Soil Blocking
Adventures in getting our seeds to germinate

Last gardening update, I told you about our ideas for keeping furry friends away from our garden goodies. Today, I will share our adventures in starting our seeds - specifically, our experience as soil blocking newbies.
What is soil blocking?
Soil blocking is a way of creating cubes, or blocks, of soil to plant your seeds in. A quick search on YouTube will show you tons of videos and tips on the process.
We purchased a 2 inch soil blocker that can make 5 blocks at a time. It’s also cool that the blocker has divots that make a small indentation on the top of the block. That dent is where the seeds go.
When the seeds start to outgrow the blocks (or when it’s warm enough to move them outside), simply transfer the blocks to larger pots or right to the ground.
What supplies do you need for soil blocking?
Soil blocking is a simple and cost effective way for starting seeds indoors. It is more cost effective than pots because you only need to buy soil or a seed starting soil mixture each year.
The basic supplies you need are:
A soil blocking tool
Plastic or fiberglass trays to hold the blocks
Seed starting soil/ potting soil with add ins
Long-necked watering can
There are many “recipes” for the '“best” soil starting mixture on YouTube. Do some research and see what you would like to try. We used Fox Farms Coco Loco mix (as suggested by Samantha N Stephenson in her new book). It was easy to work with and some of our seeds sprouted within a few days!
Pros and Cons of Soil Blocking
Pros:
Can start many seeds in a small space (we have 2 small shelves with grow lights above, and started over 200 seeds!)
More cost effective than buying plastic pots every year. Invest in trays and a blocker once and simply purchase soil each year
Cuts down on plastic use and plastic waste
Blocks can be made in varying sizes to suit your needs
Healthier root system that grows out from the block rather than hitting the walls of the pot and then growing in a circle
Cons:
Learning curve for beginners. Can be hard to figure out how to get the proper mix of soil and water.
Time consuming (but enjoyable!) to make many blocks
More labor intensive than soil and pots
Final Thoughts on Soil Blocking
There is definitely a learning curve when you are starting out with soil blocking. I recommend watching videos or talking with an experienced friend. Then, practice a bit before making 200 blocks (ask me how I know…)
Here are my 3 final pieces of advice for newbies to this technique:
My biggest piece of advice is plan to make the blocks one day, and then plan to insert the seeds a different day. If they dry out, you can simply add more water to the tray.
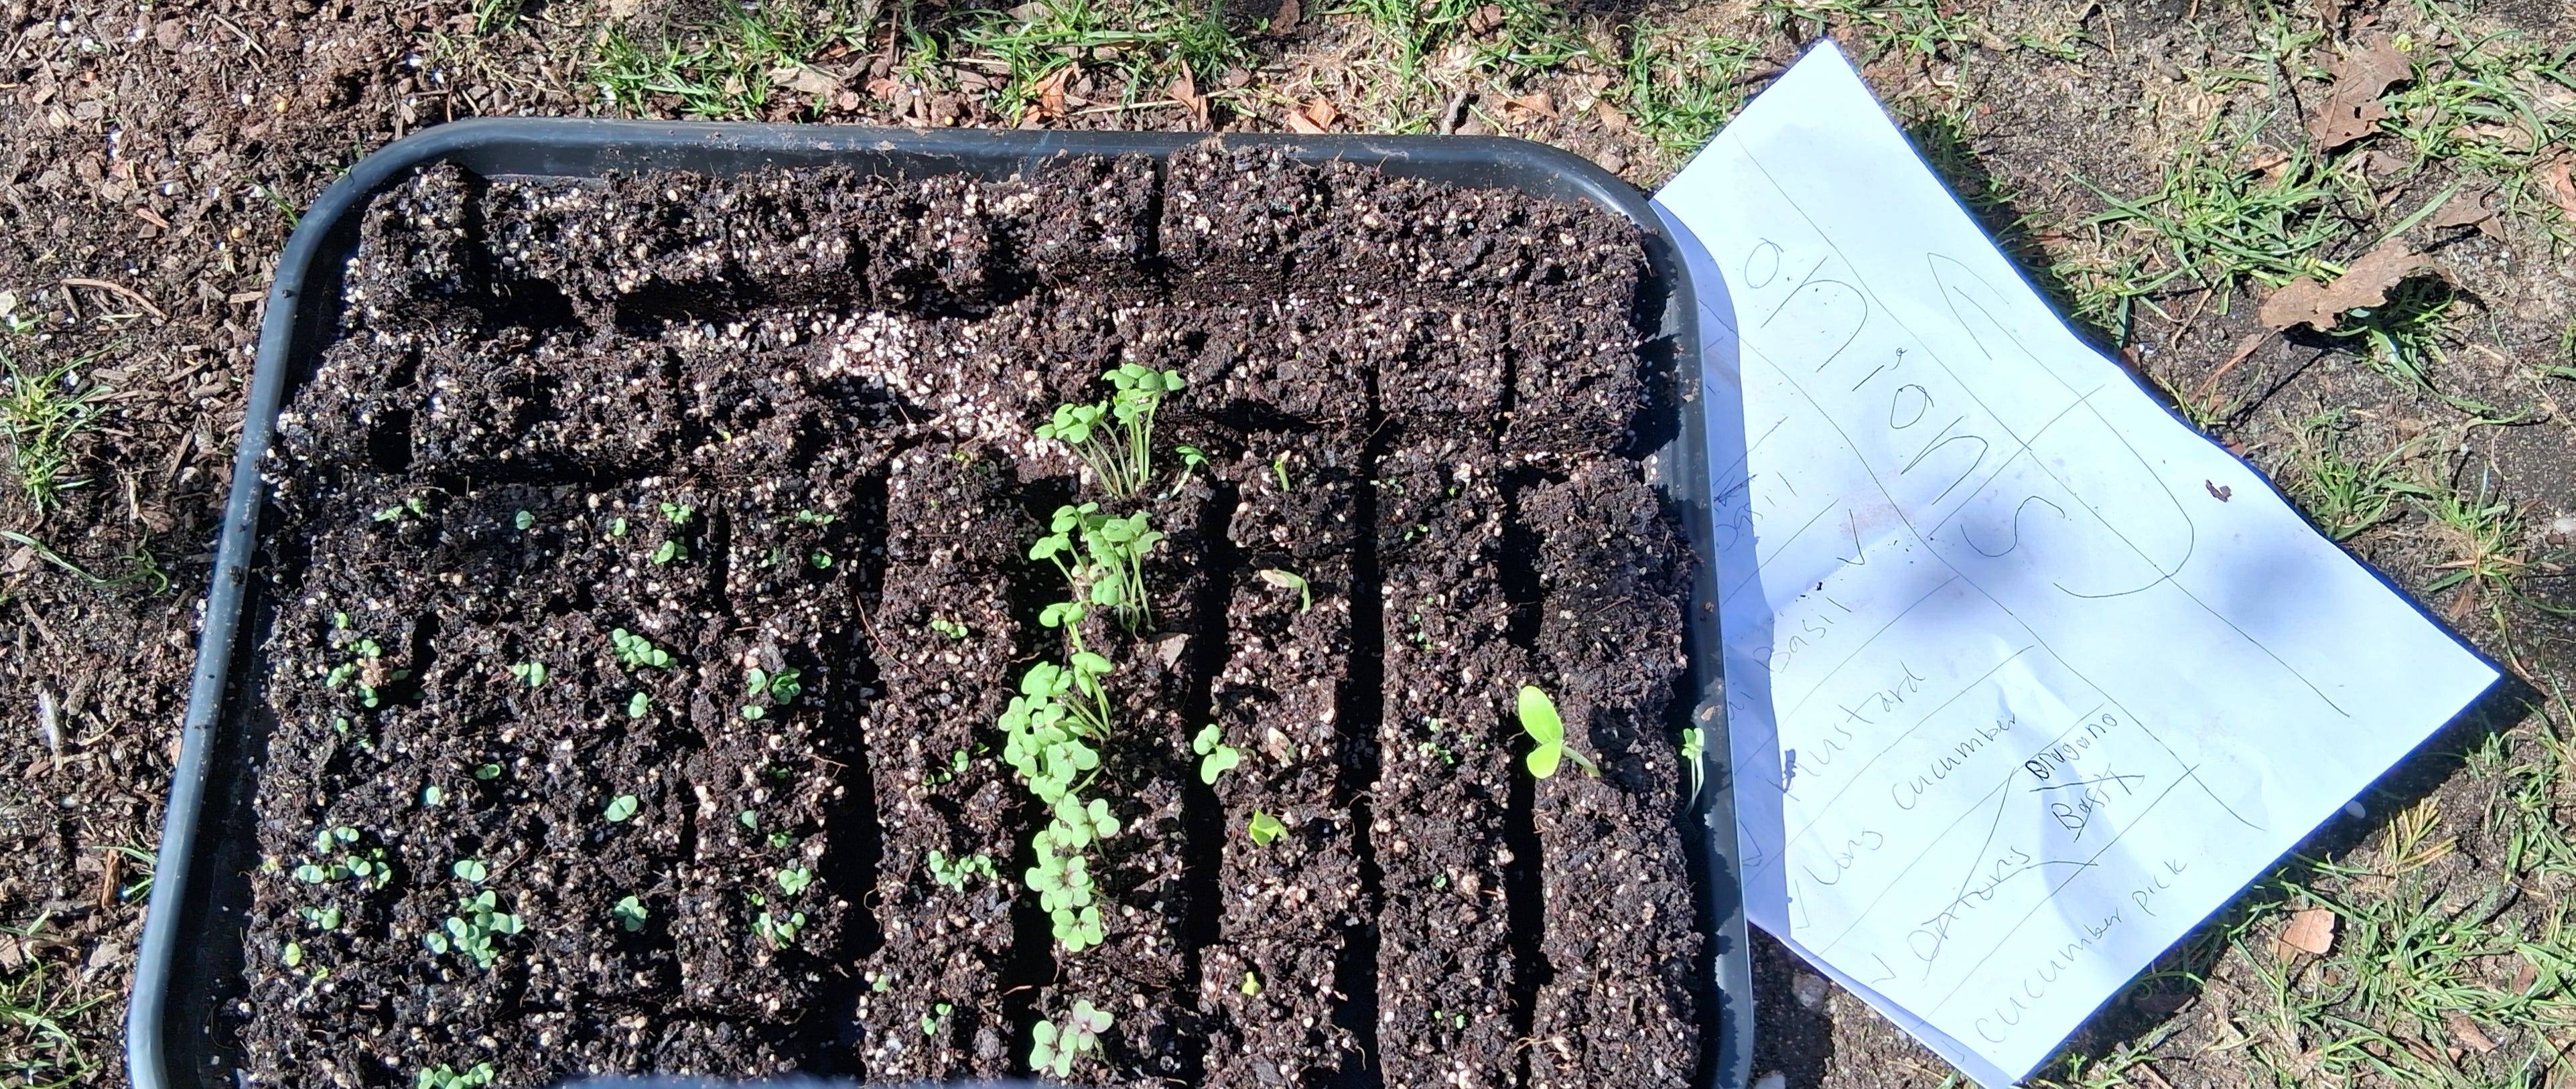
Also, make sure you have a system for labeling your seeds - especially if you use multiple trays. We drew a grid on pieces of paper and put them near each tray.
To go along with #2, plan what you will plant and how many before you soil block. For example, we love to grow lots of basil, so these took up a good portion of blocks versus veggies that we were trying for the first time and didn’t know if we would want a large supply of them.
I am definitely happy we tried out soil blocking, and love that we no longer have to purchase new plastic pots year after year. It is a great technique for starting lots of seeds in a small space. The seeds also sprout quickly. Hopefully, they will also grow into healthy plants! I will definitely be using this method for starting seeds from now on.
Have you ever tried soil blocking? Do you have any tips? I would love to know!